

Hey there party organizers!
Scotty's birthday is coming up, giving me the perfect opportunity to throw a get together. I am not sure how his friend's feel about all my soirees but I've had no complaints yet.
When it comes to planning I believe in starting with a big idea and narrowing it down. The first decision I make is picking the theme. I find it easiest to begin with a theme/color schemes/vision so I know what to look for in details or where to let my mind run when brainstorming.
Scotty is a simple man. Last year for his birthday all he wanted to do was "chill and go to the beach". So we are doing the same thing this year but..."extra". My husband has been working weekends for the past year but will start having a weekend day off every so often. Sunday brunch anyone?
I love the idea of brunches because of
- Coffee
- Mixing breakfast foods with lunch
- Day drinking (and extra hours to get over a hangover)
I've never been a big alcohol consumer but even so, after passing 25 years of living (or 21, who am I kidding), my ability to tolerate hangovers is at a zero.
We live on the coast of California where the beach is only a short distance away. I wanted to take advantage of this (who doesn't love a beach day..) and decided to include the option for our guests to stay after brunch and explore our little beach town or possibly go for a bike ride along the Pacific Coast Highway.
Our guest list includes six people plus Scotty and I, all friends since high school and college. With eight people counted for, we are able to have an intimate gathering while still branch off and catch up with individuals.
This also allowed me to take the time and put some love (a.k.a. DIY) into each detail of the party.
The First Detail
The invitations: I knew I wanted to incorporate color into the envelope and coordination with the actual invitation. What I did not realize was how easy it would be!

I used some invitation envelopes left over from our wedding. I prefer to use envelopes with a pointed flap, however having a straight flap made cutting the backdrop super easy.
The Materials Used
Use what you already have: The thing about living life on a budget is that you have to be creative with what you already have. To Scotty's dismay, I have a tendency to, ahem, safe keep, things to reuse later. I save a lot in crafts because you never know when you could use scrap paper for something.

The materials I used for these invitations are:
- Leaf cardstock paper (6 in x 3 1/2 in)
- Green "moss" cardstock paper (4 in x 6 in)
- White cardstock paper (3 1/2 in x 5 1/2 in)
- Gold square 3-D stickers
- Copper-leaf
- Glue stick
- Double-sided tape
- A6 envelopes
To get the dimensions of each paper, I based them off the size of my envelope. Had I used a larger envelope, my dimensions would be larger. Use what you already have: if you've got larger/smaller envelopes at home, play around with the green cardstock size- as the outline, that will be the largest of your three papers.
Word of caution: When you cut your green cardstock, make sure the back side of your paper does not have any logos/words. I used Martha Stewart cardstock (moss color). The only reason I know this is because it's printed in the back of one of my invites.
Step 1: Design Your Invitation
There are two things that I don't particularly look forward to when party planning. One is designing an invitation. To make my life easier, I use Canva templates and just plug in the party details. I don't just look at their invitation templates- I browse through posters or save the dates and mess around with them by adding text, photos, or elements.

I chose a green color because I will play incorporate palm leaves into the decor and envelope lining. I also knew I wanted my design to have a white background and be as simple as possible because
- I would be printing from my home computer and
- Ink ain't cheap
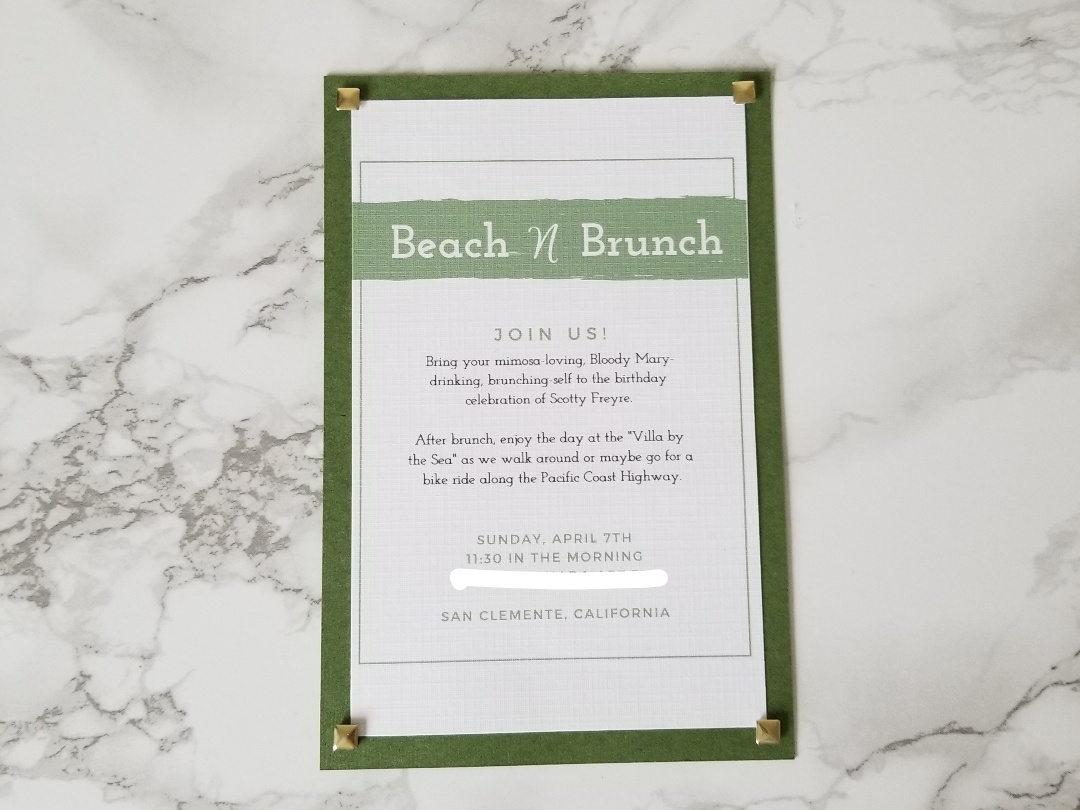
So this is what I created. With the help of Scotty, we came up with the text, played around with a couple of fonts and we were done.
For those interested, here are the fonts that I used.
- Beach/Brunch- Josefin Slab
- N- Euphoria Script
- Join Us- Montserrat
- Test- Josefin Slab
- Date/Address- Montserrat
Step Two: Print
Remember when I said there are two things I dislike about invitation making? This step is the biggest nuisance to me and 9 times out of 10, will get me frustrated. I cut out printer paper and perform a series of tests to make sure the invitation or envelope turns out how I want it to. I will go through a few pages because I can never get it right. Somehow I get it done by messing around with printer page setting, and computer printing settings. If I have any tips, its: make your image file a PDF and print from there.
Step Three: Put Your Invitation Together
After failing with the printing step, I always look forward to putting the invitation together.

Using a double sided tape, I cut four small squares and placed them at the top, sides, and bottoms. Don't worry if the corners stick up- we will use the 3-D stickers to keep them down.
Step Four: The Envelope
After you admire how beautiful your invitation turned out, it is time to move on to the envelope.
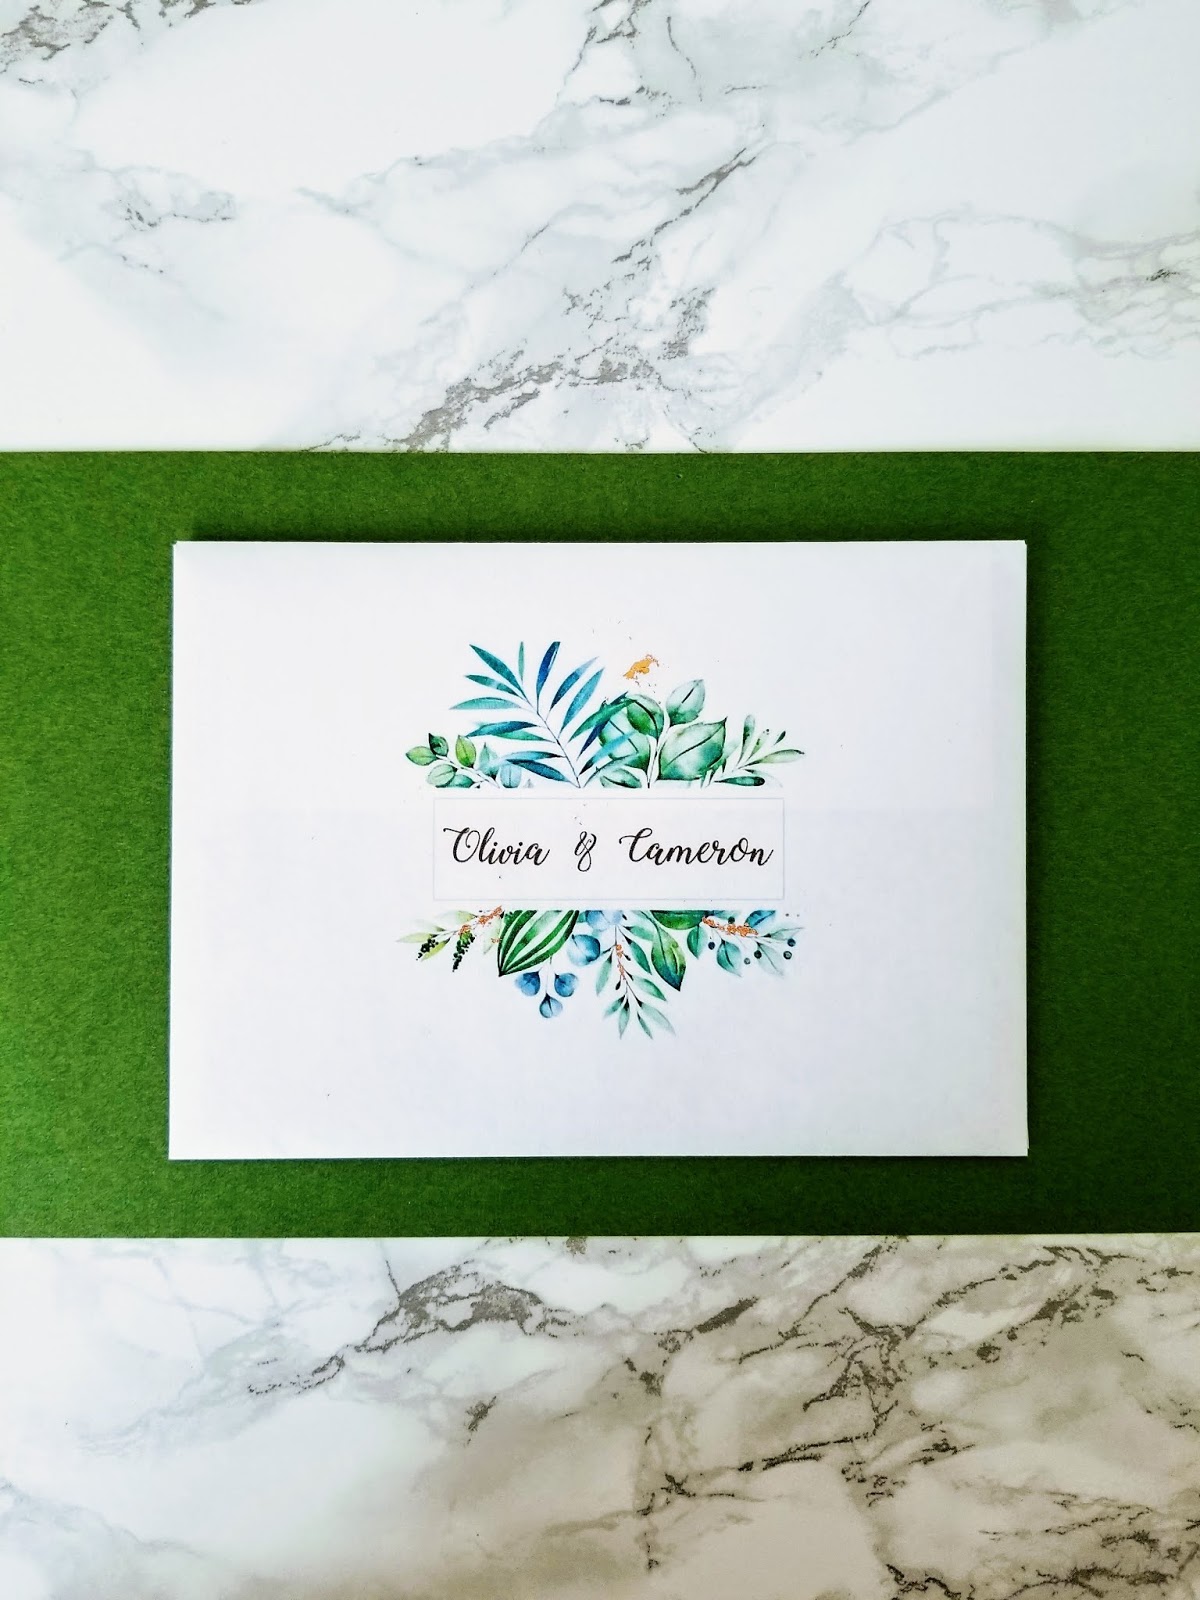
To make the front of the enveloped, I did a google search for beach/tropical/palm leaf frames. I found this one on Shutterstock and typed our guests' names and address using Winter Calligraphy font for the names and I'm Fell English SC for the address.
To make the envelope lining, I cut my cardstock paper to 6 inches by 3 1/2 inches. As I mentioned earlier, I had plans to use a pointed flap and cut out the paper in a triangle shape but this was so much easier!


I then used my handy double sided tape and cut three square and places them on the corners and top middle of the envelope, right before the sticky/glue used to close the envelope. Before closing the envelope shut (watch out, you're invite isn't inside yet!) I ran my fingernail on the crease to make it nice and sharp. I did not put any tape on the bottom, hidden part, of the liner.
The Extra Step: Gold-Leaf-It
Want to "up" your envelope game with very minimal effort? Gold Leaf It. Let me disclose that I am not a professional and therefore probably don't apply gold leaf the correct way. I am okay with this and I have no complaints about my gold leafing.

A little goes a long way. The palm leaf image I used had a yellow star at the top. I didn't like this so I used a little glue (almost nothing) and covered it with gold leaf. I then ran my finger over it to give it a "rustic" look.
One of the reasons I love organizing and creating parties is for it's creative outlet. I experimented with different gold leaf designs on different envelopes and at the end found my favorite one: using gold leaf on the stems of the plants.


